
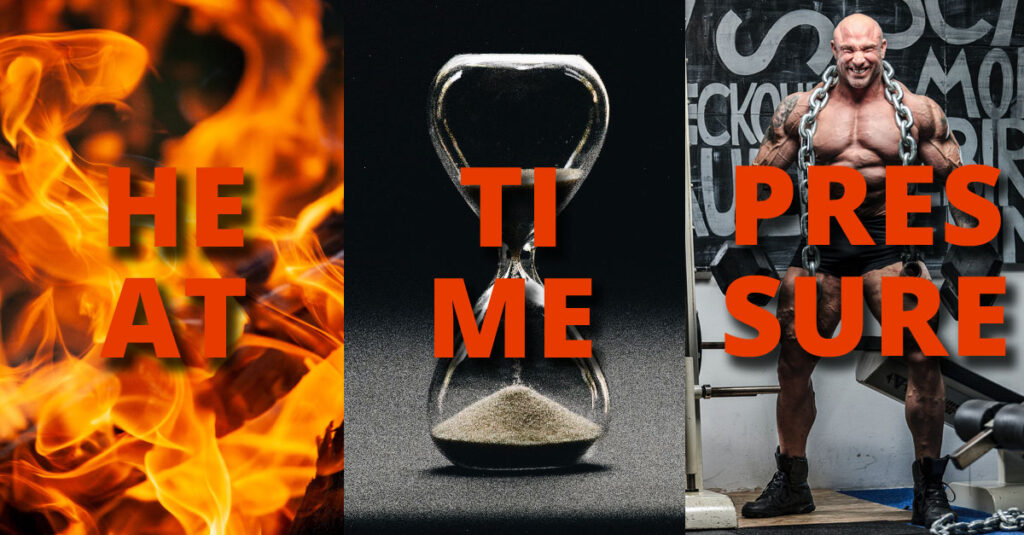
Among the many factors that can influence the heat transfer process, the three most important are heat, time, and pressure.
Whether you’re working with a textile transfer or a heat transfer image for packaging applications, you should understand the effects of these parameters and how they influence the heat transfer process. Furthermore, it’s equally important to understand how these three factors interact and what that means for the final transfer result.
The first and most important parameter is: HEAT.
A heat transfer image is not sticky at room temperature, but becomes so when heated. But what exactly happens to the transfer when it is heated?
The inks and adhesives that make the heat transfer image tacky are so-called thermoplastics. These plastics are solid at room temperature but transition to a liquid state when heated. Further heating beyond the melting point would most likely lead to decomposition, oxidation, or other significant changes in the material itself.
But this transition from solid to liquid does not occur within a temperature change of 1°C. Rather, it is a process in which the material transitions from a solid to a rubbery state and finally to a liquid state. Another important point is that this intermediate range has even been given its own name: the “Rubbery Plateau.” This name comes from an effect in which the rate at which viscosity—or “flowability”—changes slows down over a range of a few degrees Celsius. And in this range, the material is rubbery.

Change in viscosity as a function of temperature
The temperature range in which the rubbery plateau occurs and the number of degrees over which it exists depend on the materials used. Some systems exhibit it at approximately 80°C, others at 130°C, or even at higher temperatures.
In summary, we can use heat to control how “fluid” the transmission should be. With less heat, it becomes more rubber-like, and with more heat, it becomes a liquid.
The second parameter that can be adjusted is: PRESSURE.
As we’ve already learned, we can use heat to melt the transfer and make it sticky. But how liquid should it be, and how much heat can your T-shirt, cosmetic tube, or pen withstand? Most plastics undergo a melting process similar to that of our transfer, which means that too much heat can damage the product. If this is the case, there’s a limit to how much heat you can apply. This is exactly where pressure comes into play.
Once the heat transfer image has melted to a rubbery state, it can be compared to self-adhesive tape like Scotch or Tesaband.
To better understand the effect of pressure, take a piece of tape and place it very carefully on a piece of paper (don’t press it down!). Can you blow it off? The answer is: Yes! Now press it firmly against the same piece of paper. Can you still blow it off? Definitely not!
This is the result of applying pressure. Since the transfer image is in a soft, rubbery state, it can flow—albeit slowly—and coat a surface. However, because it is not truly liquid, a certain amount of pressure is needed to induce this behavior. In other words: If you cannot apply the desired heat due to a heat-sensitive product, this problem can be overcome by applying more pressure.

Wetting behavior of a liquid on a solid surface
"Wetting is the ability of a liquid to maintain contact with a solid surface, resulting from intermolecular interactions when the two are brought together."
Therefore, to achieve a similar result, a lack of heat can be compensated for by higher pressure. Accordingly, a pressure-sensitive product can be printed on by applying more heat.
Side note: In addition to pressure, other factors—such as surface tension—also play an important role in wetting, but that would go beyond the scope of this discussion.
The final parameter is: TIME.
Time refers to the dwell time during which heat and pressure act on the hot transfer image. This value is the most important factor for production speed. The less time required to apply a transfer, the higher the output per unit of time that can be achieved.
So the big question is, how much time is needed to apply a transfer correctly? The theoretical answer is: “When the transfer has sufficiently wetted the surface.” And just as heat and pressure are interrelated, so too is dwell time.
Dwell Time vs. Heat
The more energy in the form of heat you apply to the transfer, the faster it reaches the desired transfer temperature. A transfer press with a high-powered heating plate or a preheated product shortens the dwell time, simply because the transfer’s temperature rises to the required level more quickly.
Dwell Time vs. Pressure (and Heat)
The relationship between dwell time and pressure is somewhat more complicated and is also highly dependent on heat. Let’s assume we have a product that is heat-sensitive, so we cannot set the transfer temperature infinitely high. In this case, we would simply increase the pressure to force the rubber-like molten adhesive to wet the product. However, the product we are considering is also thin-walled and therefore pressure-sensitive.
Since we cannot press it against the surface to achieve wetting, we must give it more time to do so on its own. In this case, you can imagine the transfer behaving similarly to a lump of very dense dough that slowly spreads out on parchment paper. This is exactly how the transfer image would behave on the product’s surface.
All in all, this means that dwell time is the last parameter you can adjust once you’ve reached the limits of heat and pressure.
In conclusion, keep the following in mind:
"Any parameter of the holy trinity of heat, pressure, and time can compensate for the other two, and vice versa."
Click this button to get in touch with us for a personal consultation. To make sure that your products can benefit from this unique, clean and digital printing technology as soon as possible.
Further Posts
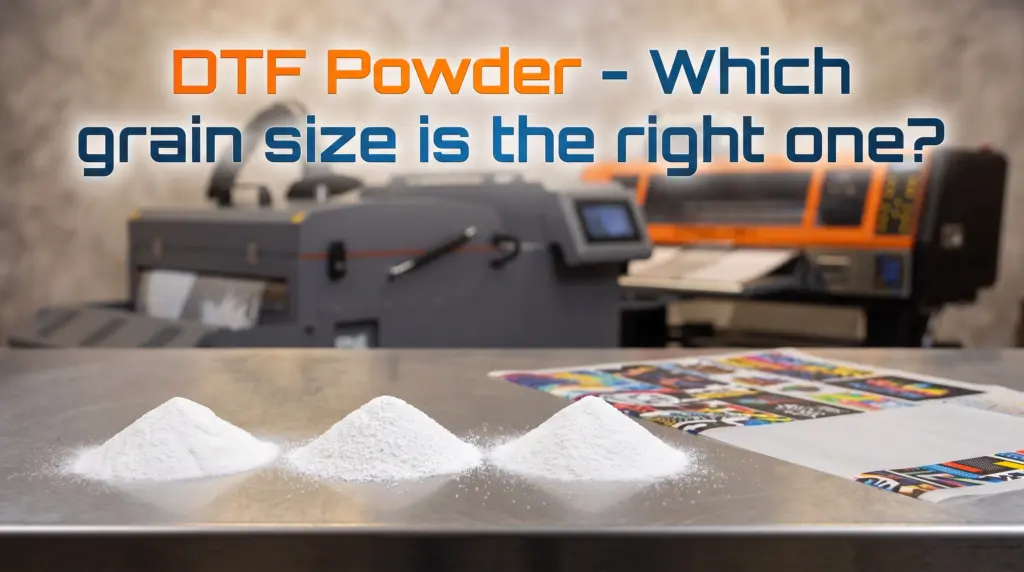
DTF Adhesive Powder – Fine, Medium, or Coarse? Choosing the right DTF adhesive powder determines adhesion, texture, and detail sharpness – and whether a design will survive the first wash. This guide shows which grain size works best with which fabric, how dosage and press temperature interact, and what tricks you can use to avoid costly printing errors. Practical knowledge for anyone who produces DTF transfers reliably.

What is UV-DTF and how is it used? We’ll explain it quickly and easily!
Welcome to the fascinating world of UV-DTF printing—the perfect blend of stickers and high-quality finishing. Dive into our overview of the process—from the innovative UV-DTF printer to the perfect application. Discover how this technology is revolutionizing the world of printing for DIY, hobbies, promotional materials, and special projects!

How can sports jerseys and functional shirts be customized without compromising performance?
Customized logos, names or numbers are standard today – but there are many challenges, especially with polyester and elastic fabrics: Sensitivity to heat, color gradients and lack of stretch. In our blog, we show how modern heat transfers overcome these hurdles and what is important to ensure that design and function work together perfectly.

Understanding color spaces. CMYK, RGB or Lab are tools with which you can ensure that print and expectation match.When it comes to printing, the color space is something you should know. Because only if you are familiar with color spaces can you translate the color you see into the right print color. Especially with digital printing technology, this knowledge is worth its weight in gold.
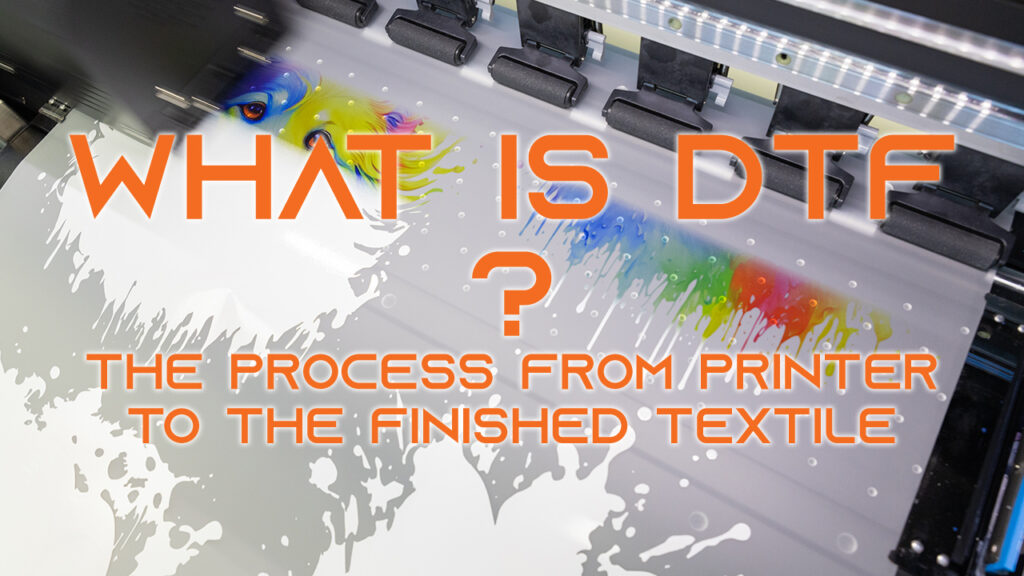
What is DTF? We explain it!
Welcome to the fascinating world of DTF printing, where flexibility and quality come together. Dive into our detailed insight into the process – from the innovative DTF printers to the automatic powder shakers to the transfer press. Discover how this technology is redefining the boundaries of printing.